Fishing, Hunting and Camping
Tips, articles and reviews by people like you.


Ready, Set, Camp: Unwinterizing Your Camper!
It’s Time to Get Your Camper Ready for Camping Season!
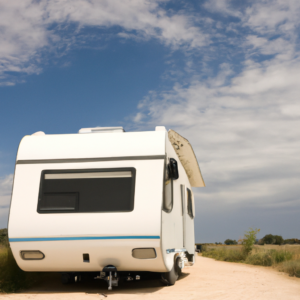
Camper
As the winter months come to a close, it’s time to start thinking about getting your camper ready for the camping season! Whether you’re a seasoned camper or a newbie, taking the time to properly prepare your camper is essential to ensuring a smooth and enjoyable camping experience. In this article, we’ll walk you through the steps to unwinterize your camper and get it ready for the upcoming season.
Step 1: Inspect Your Camper Inside and Out
The first step in preparing your camper for the camping season is to inspect it inside and out. Check for any damage or wear and tear that may have occurred during the winter months, such as leaks, cracks, or broken parts. Inspect the roof, sides, and bottom of the camper, as well as the interior walls, floors, and furniture. Make any necessary repairs or replacements before you hit the road.
Step 2: Check the Tires, Brakes, and Hitch
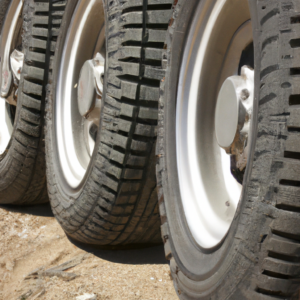
Camper tires
Next, check the tires, brakes, and hitch of your camper. Inspect the tires for any signs of wear or damage, such as bulges or cracks. Check the air pressure and ensure that it matches the manufacturer’s recommended level. Test the brakes and make sure they are functioning properly. Check the hitch and ensure that it is properly attached and secure.
Step 3: De-Winterize Your Plumbing System
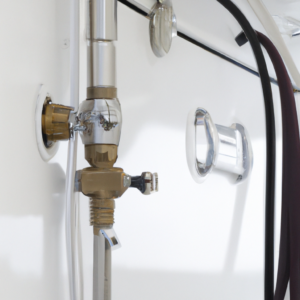
Camper plumbing
If you winterized your camper, it’s time to de-winterize your plumbing system. Start by flushing the plumbing lines with fresh water to remove any antifreeze. Check for leaks and ensure that all valves are functioning properly. Test your water pump and hot water heater to make sure they are working correctly.
Step 4: Check Your Electrical System
Check your camper’s electrical system, including the battery, fuses, and wiring. Test all lights, appliances, and outlets to ensure that they are functioning properly. Replace any burned-out bulbs or blown fuses. Charge the battery and test it to make sure it holds a charge.
Step 5: Clean Your Camper Inside and Out and Check Seals
Give your camper a thorough cleaning inside and out. Remove any debris or dirt from the exterior, including the roof, windows, and awning. Clean the interior of your camper, including the floors, walls, and furniture. Vacuum or sweep the carpets and upholstery. Wipe down the countertops and surfaces with a disinfectant.
You will also want to check all seals on the outside of your camper. This includes windows, and vents, etc. and don’t forget the roof and slide!
Step 6: Stock Up on Camping Essentials
Stock up on all the camping essentials you’ll need for your trip, such as cookware, utensils, bedding, and toiletries. Check your first aid kit and restock any items that are running low. Don’t forget to bring along cleaning supplies, insect repellent, sunblock, and a flashlight.
Step 7: Plan Your First Trip
Now that your camper is ready to go, it’s time to plan your first trip! Consider the location, amenities, and activities available at the campground you’ll be staying at. Make reservations in advance and research any local attractions or events you may want to attend.
Step 8: Test Your Camper Before Hitting the Road
Before you hit the road, test your camper to make sure everything is in working order. Turn on all appliances, lights, and electrical systems. Fill up your water tanks and test your plumbing. Hook up your camper to your vehicle and test the brakes, lights, and turn signals.
Step 9: Pack Your Camper Efficiently
When packing your camper, be sure to pack efficiently to make the most of your space. Use storage containers to keep items organized and maximize your storage space. Pack heavier items low and towards the front of your camper to distribute weight evenly. Don’t forget to pack emergency supplies, such as a spare tire, jumper cables, and a roadside emergency kit.
Step 10: Set Up Camp and Enjoy the Outdoors!
Once you’ve arrived at your campground, it’s time to set up camp and enjoy the outdoors! Follow the campground’s rules and regulations, and be considerate of your fellow campers. Set up your campsite efficiently, and be sure to properly dispose of any trash or waste.
Get Ready for a Fun-Filled Camping Season!
By following these steps, you’ll be well on your way to unwinterizing your camper and getting ready for the camping season! With proper preparation and planning, you’ll be able to hit the road and enjoy all the adventures the great outdoors has to offer!
What Do You Need to Look for in an Off Grid Boondocking RV

While some types of RVs are more off grid friendly for boondocking than others, there are a few features that need to be considered when RV shopping, if your goal is to camp off grid. While a 4×4 truck camper has a higher clearance and better off road ability, a Class A will have larger fresh, grey and black tanks, as well as a bigger refrigerator, allowing for a longer stay. What you ultimately choose is up to you, but here are five things to keep in mind for a boondocking RV.
Ground Clearance
While many camping areas are accessible by almost any RV, the more ground clearance you have, the more options you will have in off grid locations. A good ground clearance can get you to the more isolated areas, and down rutted dirt roads. If going far off the main road is your goal, then a 4×4 truck camper or a light weight pop-up camper, with a high clearance would be the best choice.
Fresh & Gray Water Capacity
We each need approximately 3 gallons a day to drink, cook and bathe. When you run out of fresh water, it will be time to break camp, and go for more. Therefore, a large capacity fresh water tank is essential. Anything less than 60 gallons will be too small for a couple. *Note: Some RV manufacturers may include the water heater capacity in the total fresh water capacity, so make sure you know the real fresh water tank capacity.
You also need to be concerned with the gray water holding tank. While there are ways to minimize waste water, and legal ways to dispose of it, a large capacity gray tank is desireable, and something important to consider when choosing your RV for boondocking.
You may be asking, what about the black tank? Running out of fresh water or filling your gray tank to capacity will happen before your black tank needs dumping. *Note: You can also extend the capacity of your gray tank, by bailing dish water into the black tank.
A Generator
Many RVs, especially Class A, B and C motorhomes, have built in generators, but many don’t, such as travel trailers and 5th Wheels. If you want a trailer or 5th, consider how you might transport and store a heavy generator; you can store and transport the generator in the bed of your pickup, or if you buy a motorhome or truck camper that does not have a built in generator, on a bumper rack. And remember, you don’t want to store or operate a generator in a compartment that is not air tight from the living area of the RV.
Solar Power
Many newer RVs will come pre-wired for solar panels, making it easier to install the panels. If you are shopping for a used RV, one that already has solar installed would be preferable.
Those who are full time boondockers have at least 300-400W of solar, so take a look on the roof, to see if there is room for the panels. Portable suitcase style solar panels are an option, but you’ll need room to store them, and under certain circumstances, you may not want to leave them out where they can be stolen.
Room for Extra Batteries
Conserving your battery power is essential when boondocking. While you can survive with just one battery, you will last longer with a larger battery bank. A minimum of two quality deep-cycle batteries is recommended. Make sure the RV you are looking at has a rack designed to hold two batteries, and possibly a solid storage compartment to add more (batteries can weigh 70-80 lbs, each).