Fishing, Hunting and Camping
Tips, articles and reviews by people like you.
Ready, Set, Camp: Unwinterizing Your Camper!
It’s Time to Get Your Camper Ready for Camping Season!

Camper
As the winter months come to a close, it’s time to start thinking about getting your camper ready for the camping season! Whether you’re a seasoned camper or a newbie, taking the time to properly prepare your camper is essential to ensuring a smooth and enjoyable camping experience. In this article, we’ll walk you through the steps to unwinterize your camper and get it ready for the upcoming season.
Step 1: Inspect Your Camper Inside and Out
The first step in preparing your camper for the camping season is to inspect it inside and out. Check for any damage or wear and tear that may have occurred during the winter months, such as leaks, cracks, or broken parts. Inspect the roof, sides, and bottom of the camper, as well as the interior walls, floors, and furniture. Make any necessary repairs or replacements before you hit the road.
Step 2: Check the Tires, Brakes, and Hitch
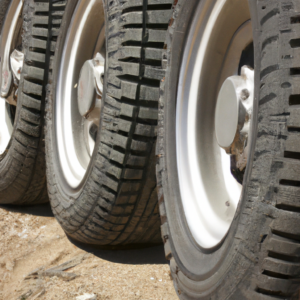
Camper tires
Next, check the tires, brakes, and hitch of your camper. Inspect the tires for any signs of wear or damage, such as bulges or cracks. Check the air pressure and ensure that it matches the manufacturer’s recommended level. Test the brakes and make sure they are functioning properly. Check the hitch and ensure that it is properly attached and secure.
Step 3: De-Winterize Your Plumbing System
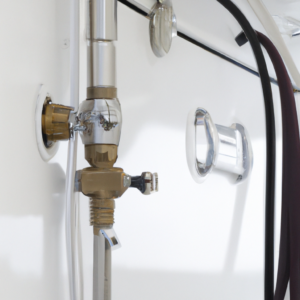
Camper plumbing
If you winterized your camper, it’s time to de-winterize your plumbing system. Start by flushing the plumbing lines with fresh water to remove any antifreeze. Check for leaks and ensure that all valves are functioning properly. Test your water pump and hot water heater to make sure they are working correctly.
Step 4: Check Your Electrical System
Check your camper’s electrical system, including the battery, fuses, and wiring. Test all lights, appliances, and outlets to ensure that they are functioning properly. Replace any burned-out bulbs or blown fuses. Charge the battery and test it to make sure it holds a charge.
Step 5: Clean Your Camper Inside and Out and Check Seals
Give your camper a thorough cleaning inside and out. Remove any debris or dirt from the exterior, including the roof, windows, and awning. Clean the interior of your camper, including the floors, walls, and furniture. Vacuum or sweep the carpets and upholstery. Wipe down the countertops and surfaces with a disinfectant.
You will also want to check all seals on the outside of your camper. This includes windows, and vents, etc. and don’t forget the roof and slide!
Step 6: Stock Up on Camping Essentials
Stock up on all the camping essentials you’ll need for your trip, such as cookware, utensils, bedding, and toiletries. Check your first aid kit and restock any items that are running low. Don’t forget to bring along cleaning supplies, insect repellent, sunblock, and a flashlight.
Step 7: Plan Your First Trip
Now that your camper is ready to go, it’s time to plan your first trip! Consider the location, amenities, and activities available at the campground you’ll be staying at. Make reservations in advance and research any local attractions or events you may want to attend.
Step 8: Test Your Camper Before Hitting the Road
Before you hit the road, test your camper to make sure everything is in working order. Turn on all appliances, lights, and electrical systems. Fill up your water tanks and test your plumbing. Hook up your camper to your vehicle and test the brakes, lights, and turn signals.
Step 9: Pack Your Camper Efficiently
When packing your camper, be sure to pack efficiently to make the most of your space. Use storage containers to keep items organized and maximize your storage space. Pack heavier items low and towards the front of your camper to distribute weight evenly. Don’t forget to pack emergency supplies, such as a spare tire, jumper cables, and a roadside emergency kit.
Step 10: Set Up Camp and Enjoy the Outdoors!
Once you’ve arrived at your campground, it’s time to set up camp and enjoy the outdoors! Follow the campground’s rules and regulations, and be considerate of your fellow campers. Set up your campsite efficiently, and be sure to properly dispose of any trash or waste.
Get Ready for a Fun-Filled Camping Season!
By following these steps, you’ll be well on your way to unwinterizing your camper and getting ready for the camping season! With proper preparation and planning, you’ll be able to hit the road and enjoy all the adventures the great outdoors has to offer!
Pork Butt: Smokin’ Hot Tips & Tricks!
Pork Butt: Smokin’ Hot Tips & Tricks!
If you love slow-cooked meat that is flavorful, tender, and juicy, then pork butt is the cut you need to try next. Despite its name, pork butt actually comes from the shoulder of the pig, and it is perfect for smoking, roasting, or braising. With some simple tips and tricks, you can turn this humble cut into a show-stopping dish that will impress your friends and family. Whether you are a seasoned pitmaster or a novice cook, this guide will help you master the art of pork butt and take your barbecuing skills to the next level.
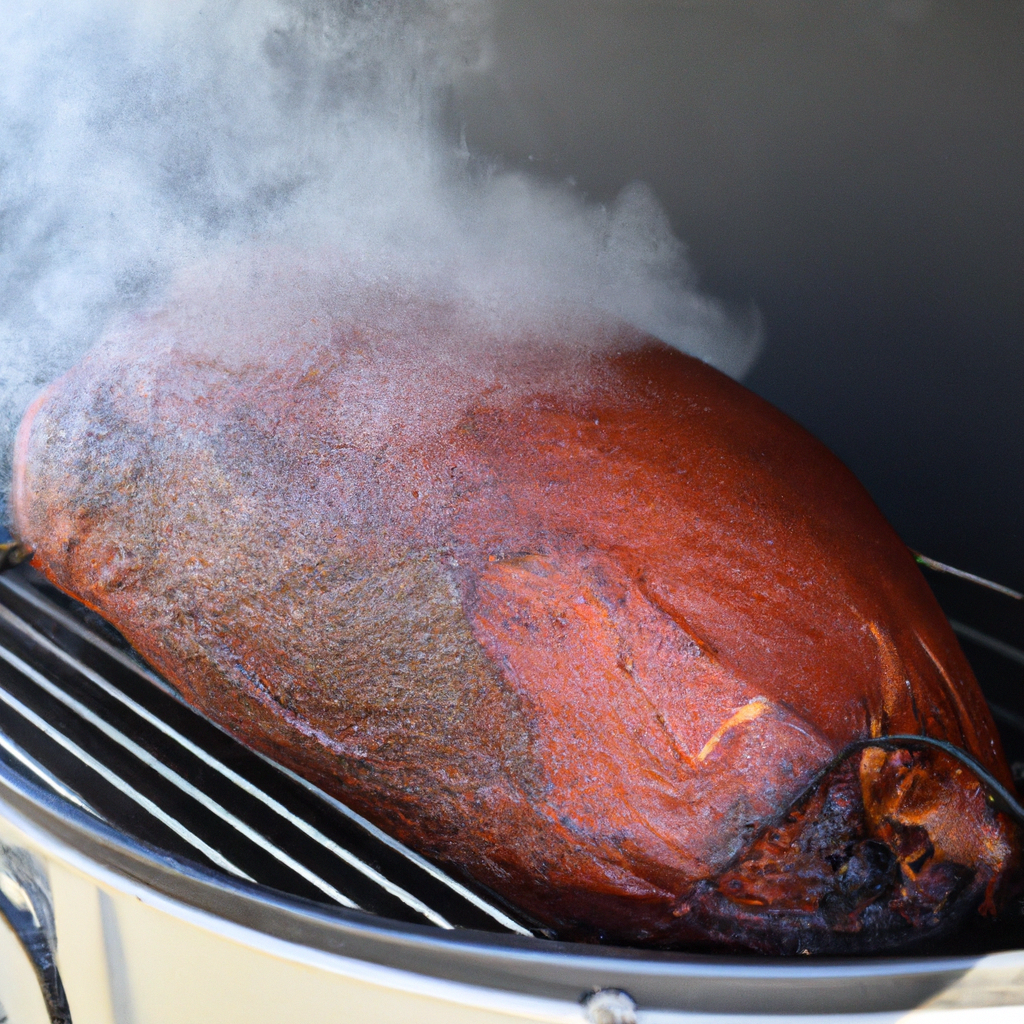
pork butt smoking
Get Ready to Sizzle with Pork Butt!
Before you start cooking, you need to choose the right pork butt. Look for a cut that is well-marbled, with a good fat cap on top. This will ensure that your meat stays moist and tender throughout the cooking process. You can also ask your butcher to trim the meat for you, or do it yourself at home. Make sure to leave a thin layer of fat on top to keep the meat from drying out.
The Secret to Perfect Pork Butt
The secret to perfect pork butt is low and slow cooking. This means cooking the meat at a low temperature (around 225°F) for a long time (8-12 hours). This slow cooking method breaks down the tough connective tissue in the meat, making it tender and juicy. You can cook pork butt in the oven, on a gas grill, or in a smoker. Just make sure to monitor the temperature and adjust the heat as needed.
Prep Like a Pro for Smoky Goodness
To give your pork butt that smoky flavor and beautiful bark, you need to prep it properly. Start by rubbing the meat with your favorite spice blend or dry rub. You can use store-bought rubs or make your own with a combination of salt, sugar, paprika, garlic powder, onion powder, and other herbs and spices. Make sure to apply the rub generously, covering all sides of the meat. Let the meat sit at room temperature for at least 30 minutes before cooking.
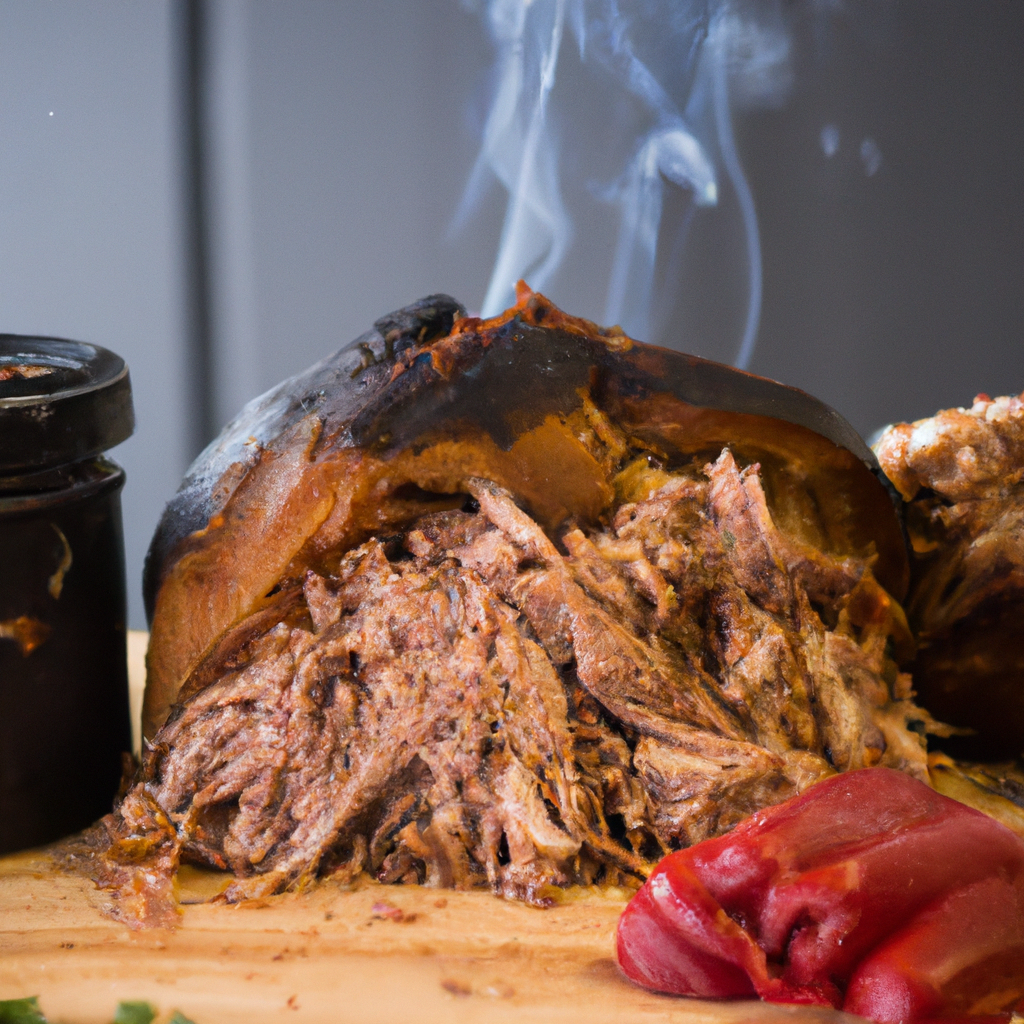
smoked pulled pork
The Ultimate Pork Butt Rub Recipe
If you want to make your own pork butt rub, here is a simple recipe to get you started:
- 1/2 cup brown sugar
- 1/4 cup paprika
- 2 tablespoons kosher salt
- 2 tablespoons garlic powder
- 2 tablespoons onion powder
- 1 tablespoon black pepper
- 1 tablespoon cumin
- 1 tablespoon chili powder
- 1 teaspoon cayenne (optional)
Mix all the ingredients together in a bowl and store in an airtight container until ready to use.
Basting Tips for Juicy, Flavorful Meat
To keep your pork butt moist and flavorful, you can baste it with a mixture of apple juice, cider vinegar, and your favorite barbecue sauce. Brush the mixture onto the meat every hour or so during the cooking process. This will add flavor and help the meat stay moist. Make sure to use a silicone brush or basting mop to avoid burning your hands.
Slow and Steady Wins the Pork Butt Race
When it comes to pork butt, slow and steady wins the race. You want to cook the meat until it reaches an internal temperature of 195-205°F. This is the range where the connective tissue has broken down and the meat is tender and juicy. Use a digital meat thermometer to monitor the temperature and avoid overcooking or undercooking the meat. Once the meat reaches the desired temperature, remove it from the heat and let it rest.
Maximizing Flavor with Wood Chips
To maximize the flavor of your pork butt, you can add wood chips to your smoker or grill. Different types of wood will impart different flavors to the meat. Hickory, mesquite, and oak are popular choices for pork butt. Soak the wood chips in water for at least 30 minutes before adding them to the heat source. This will help them smoke and produce more flavor.
Perfecting Your Pork Butt Temperature
To make sure your pork butt is cooked to perfection, you need to measure the internal temperature in several places. Use a meat thermometer to check the temperature in the thickest part of the meat, as well as near the bone. If the temperature is not consistent, keep cooking until it reaches the desired range. Remember to let the meat rest for at least 30 minutes before slicing or shredding.
Letting Your Pork Rest for Optimal Results
Letting your pork rest after cooking is important for several reasons. First, it allows the juices to redistribute throughout the meat, making it more tender and juicy. Second, it makes it easier to slice or shred the meat without it falling apart. Finally, it gives you time to prepare any sides or sauces you want to serve with the meat. Cover the meat with foil and let it rest for at least 30 minutes before serving.
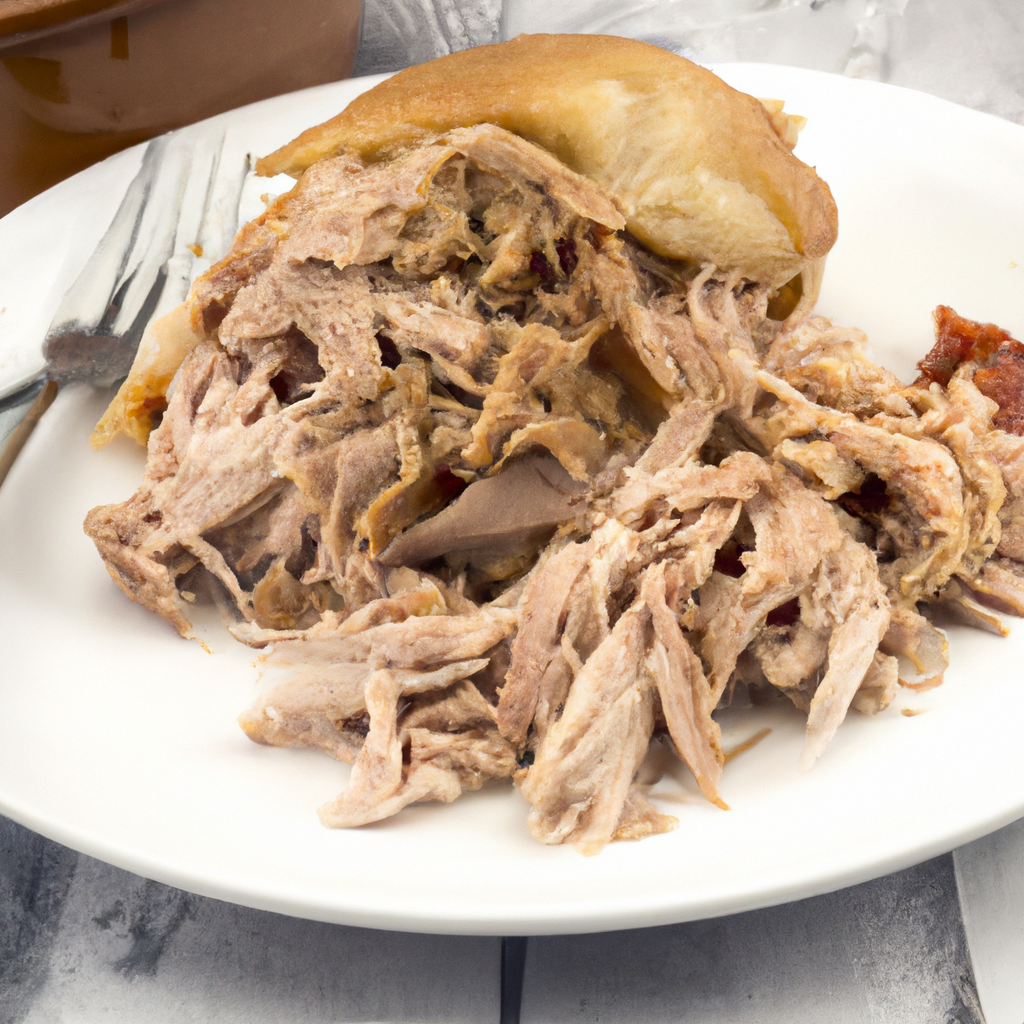
pulled pork
Pulling Your Pork: Tips for Shredding
When it comes to shredding pork butt, you have two options: using forks or using your hands. Using forks can be a bit tedious, but it will give you more control over the size and texture of the shreds. Using your hands can be faster and more efficient, but it requires some heat-resistant gloves or tongs to avoid burning yourself. Whichever method you choose, make sure to remove any excess fat or gristle and shred the meat into bite-sized pieces.
Serving Suggestions for Mouthwatering Meals
Pork butt is a versatile cut that can be served in many ways. You can serve it as a sandwich with your favorite barbecue sauce and coleslaw, or as a main dish with mashed potatoes and green beans. You can also use the meat in tacos, quesadillas, or pizza toppings. Finally, you can serve it with a variety of sides, such as baked beans, cornbread, mac and cheese, or roasted vegetables. The possibilities are endless!
Don’t Forget the Leftovers: Reinventing Pork Butt
If you have any leftover pork butt, don’t let it go to waste. You can use it in many creative ways, such as making pulled pork hash for breakfast, adding it to a soup or stew, or making a pork butt shepherd’s pie. You can also freeze the meat for later use, or make a batch of pork butt sliders for a quick and easy meal. With pork butt, the flavor never ends!
Pork butt is a great cut of meat that is easy to cook and full of flavor. With these tips and tricks, you can take your pork butt game to the next level and impress your guests with mouthwatering meals. Whether you prefer sweet, spicy, or smoky flavors, there is a pork butt recipe out there for you. So fire up your grill or smoker and get ready to sizzle with pork butt!


